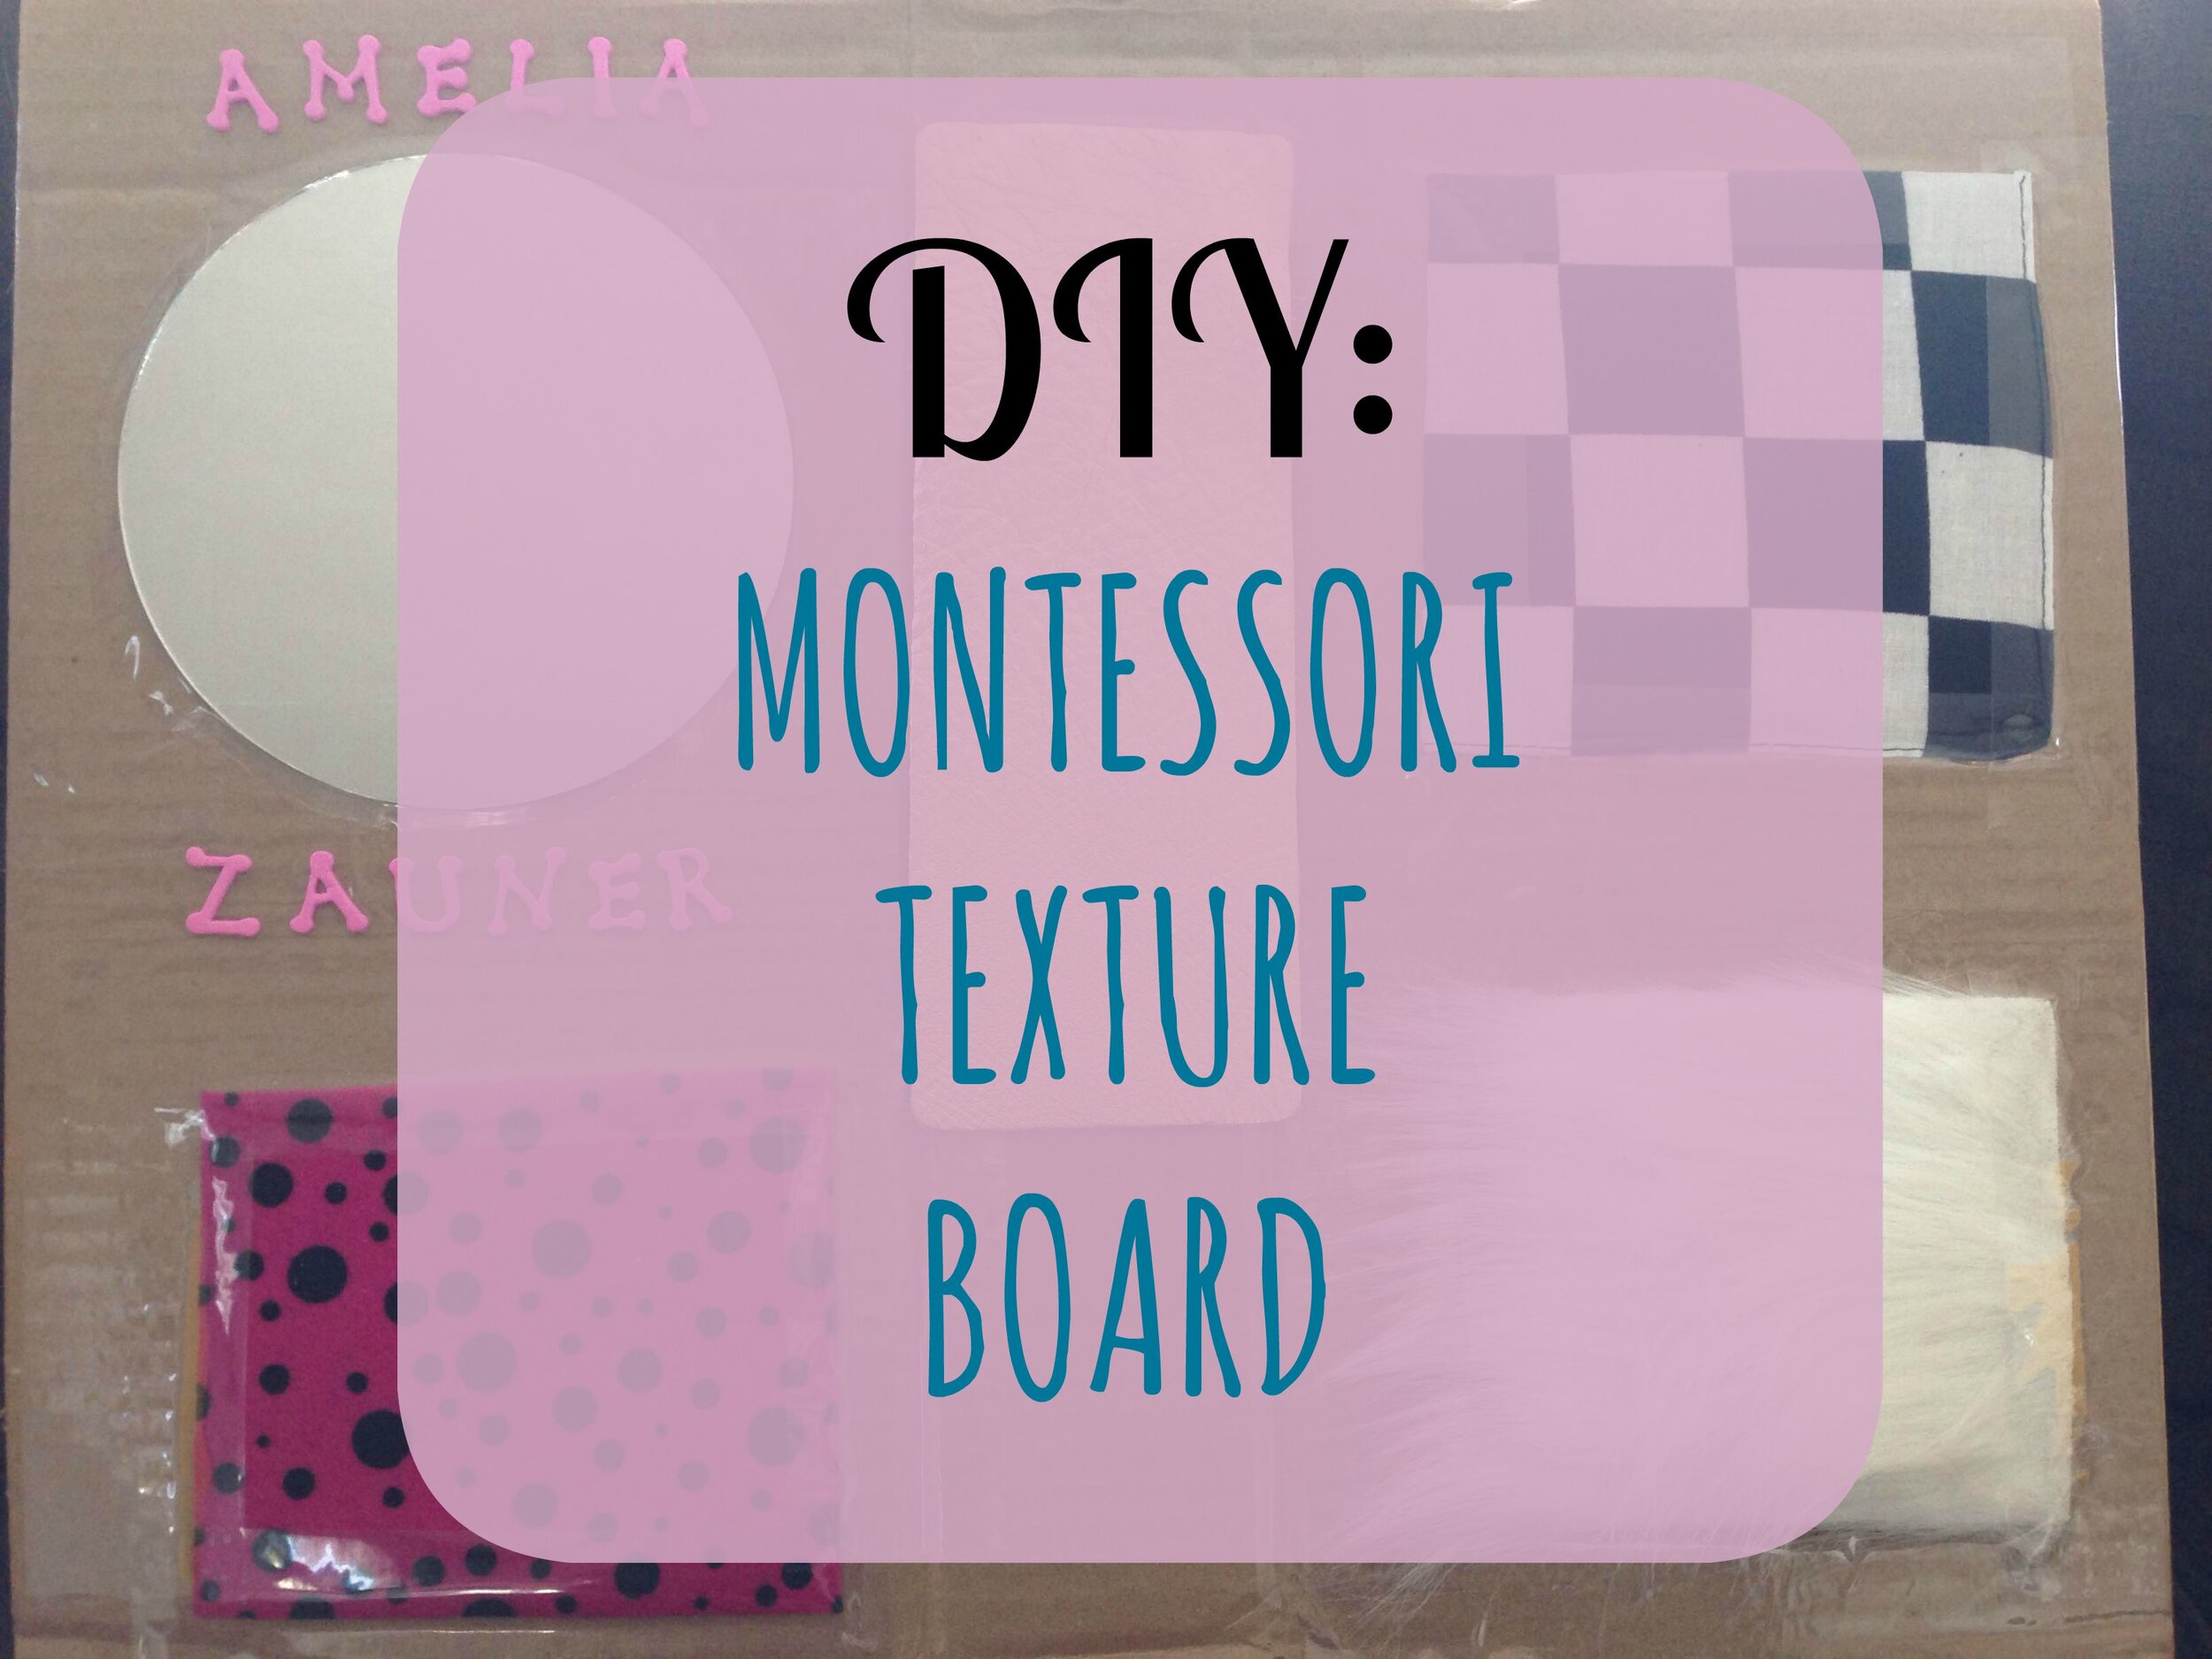
diy: montessori texture board.
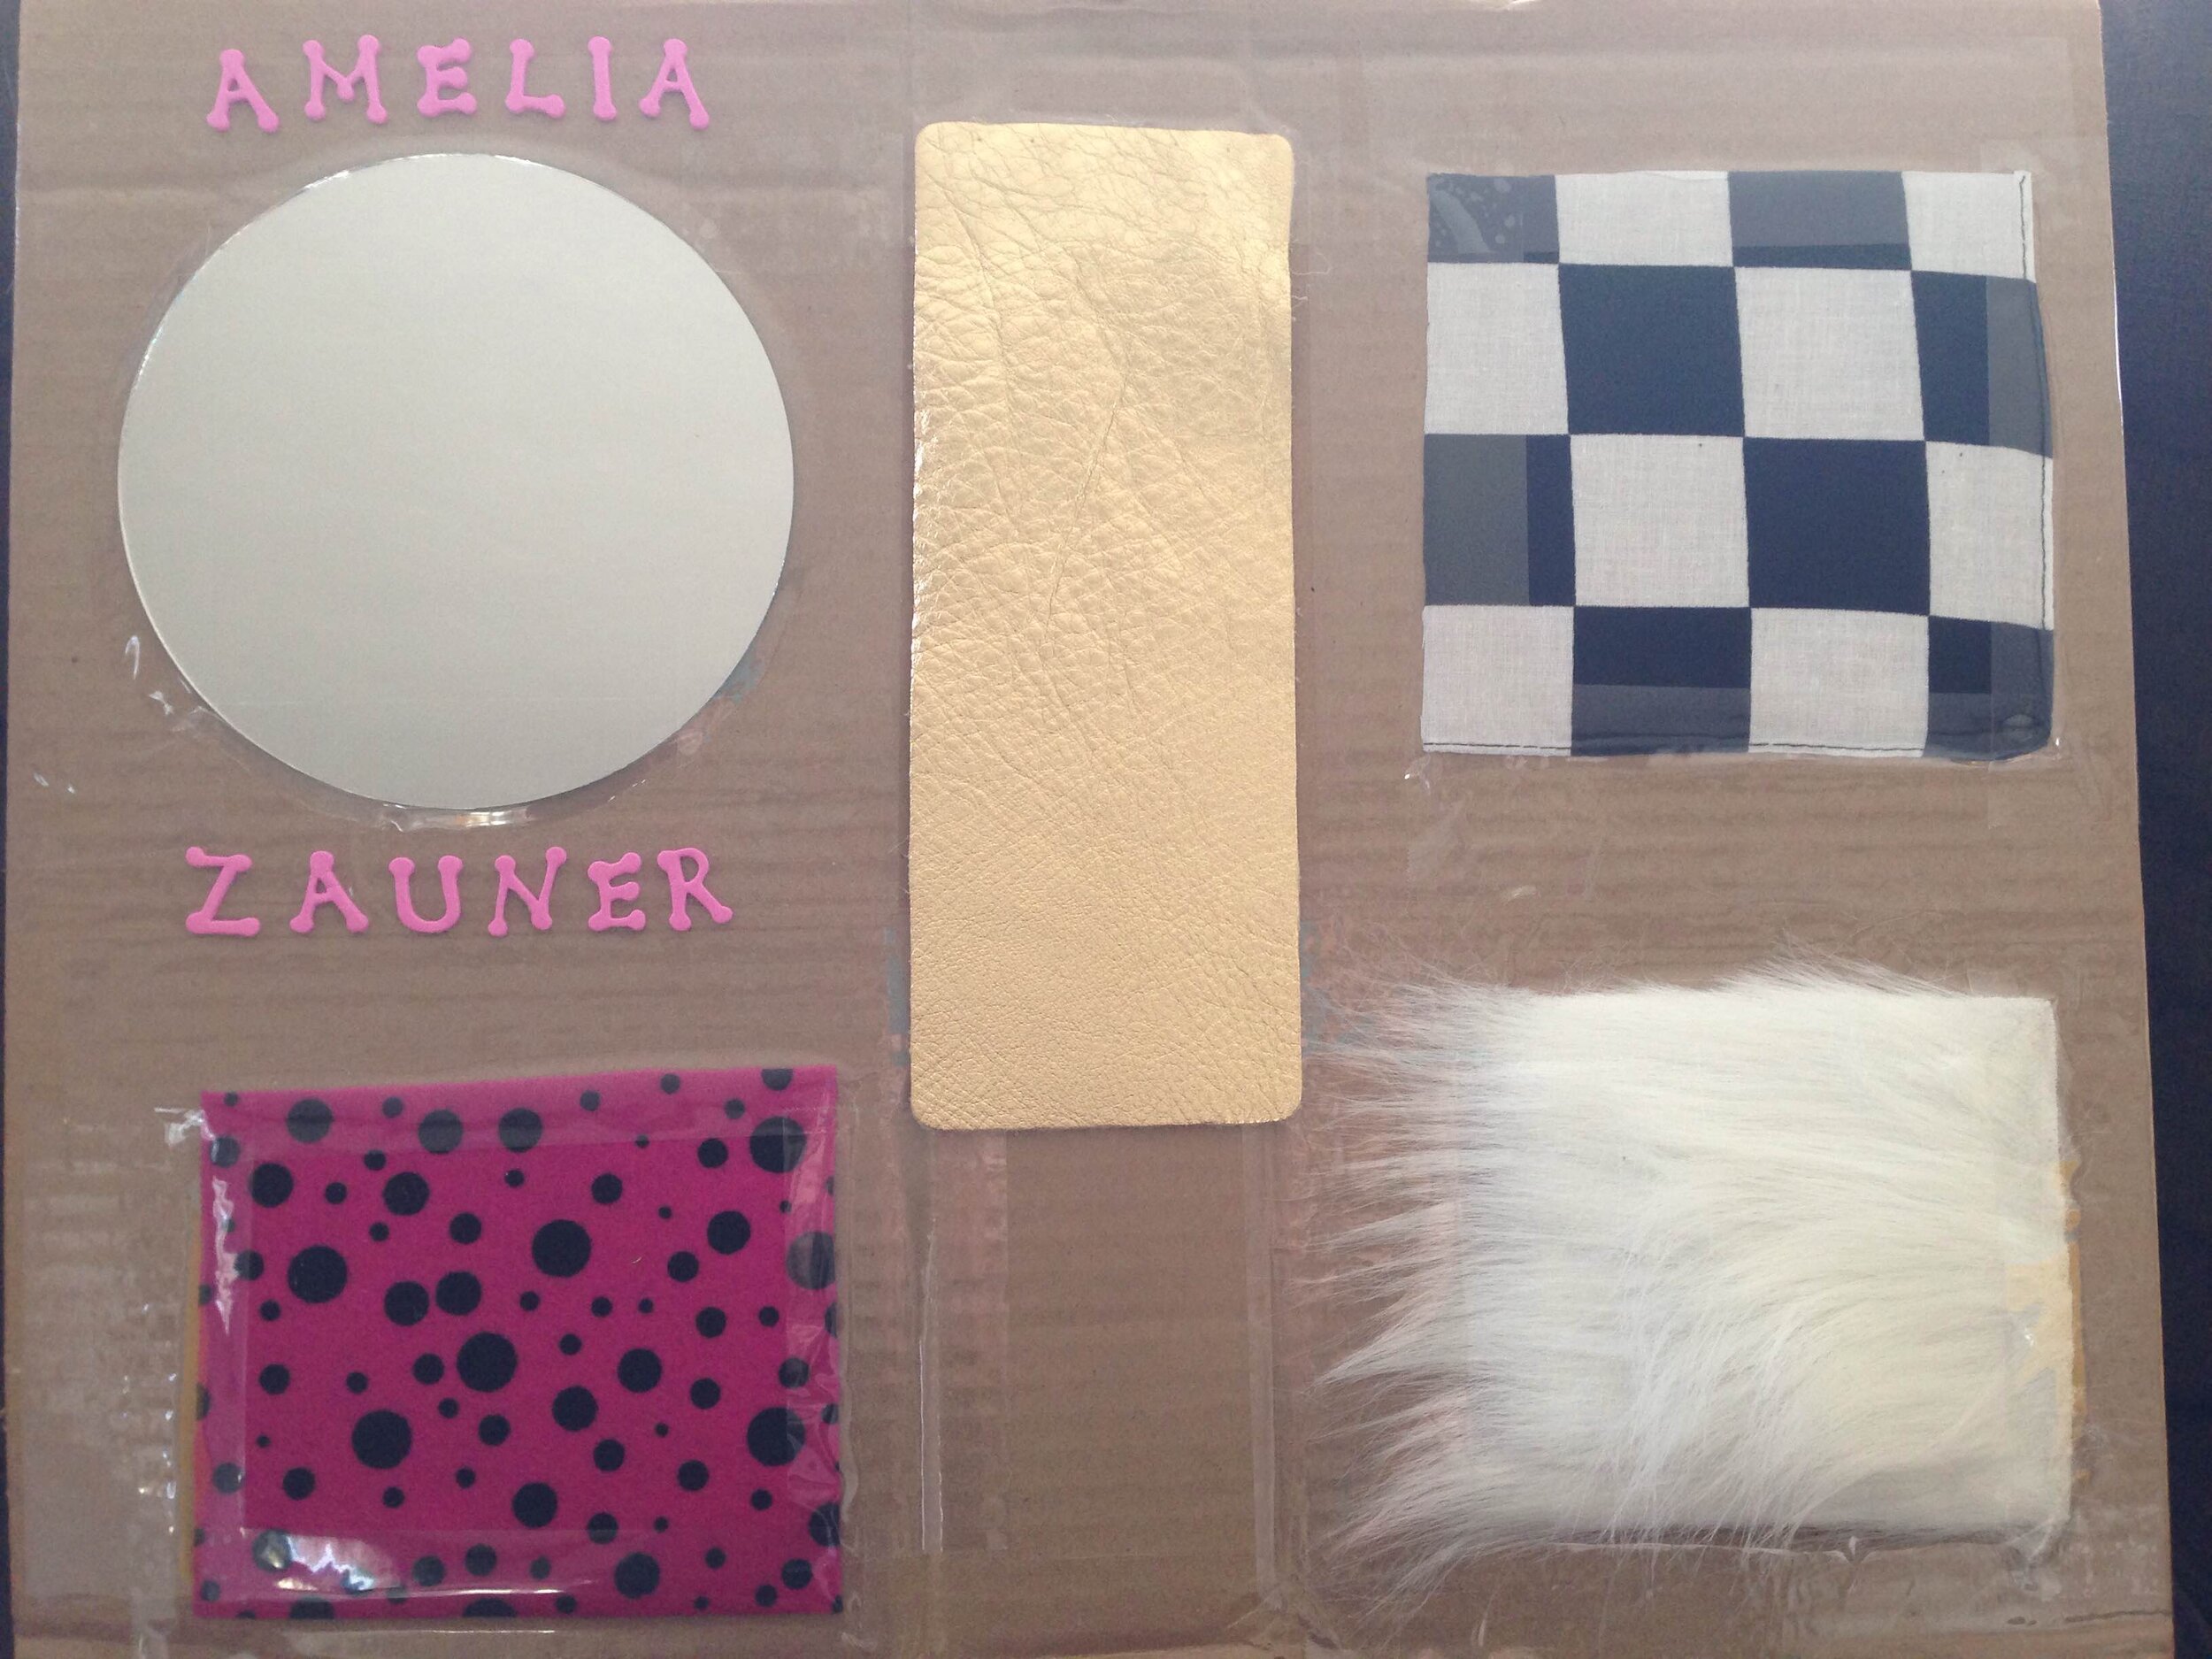
 does the title of this DIY make me sound fancy as all get out? good, that was the point.(don't worry, if you look really closely you'll see that cardboard is involved, so this is totally not fancy.)when i made this texture board for my daughter, i didn't actually know it was a montessori thing until someone told me it was. i just knew that she liked to touch different types of things because they felt cool on her hands, so i thought having a lot of different textures in one place would be fun for her. turns out, i'm a montessori genius and didn't even know it!
 this is probably one of the easiest DIY baby toys you can make for your little one (the easiest is filling a water bottle with beads, feathers and glitter, and gluing the top closed so they can shake it...it's still a hit with amelia). it's also interactive and is a great excuse to go to your local craft store with your baby and see what kinds of items they're drawn to.once you have the items you want to include on your board, all you need to do is find a piece of cardboard or thick posterboard to attach them to and get to work. get creative with how you put things on, but be careful to cover anything potentially pokey with packing or duct tape.when you're done, affix the board to somewhere your baby can easily reach it and play with it, or keep it out to prop it in whatever room you're playing in at the time. amelia still loves her texture board when she's not on the move.
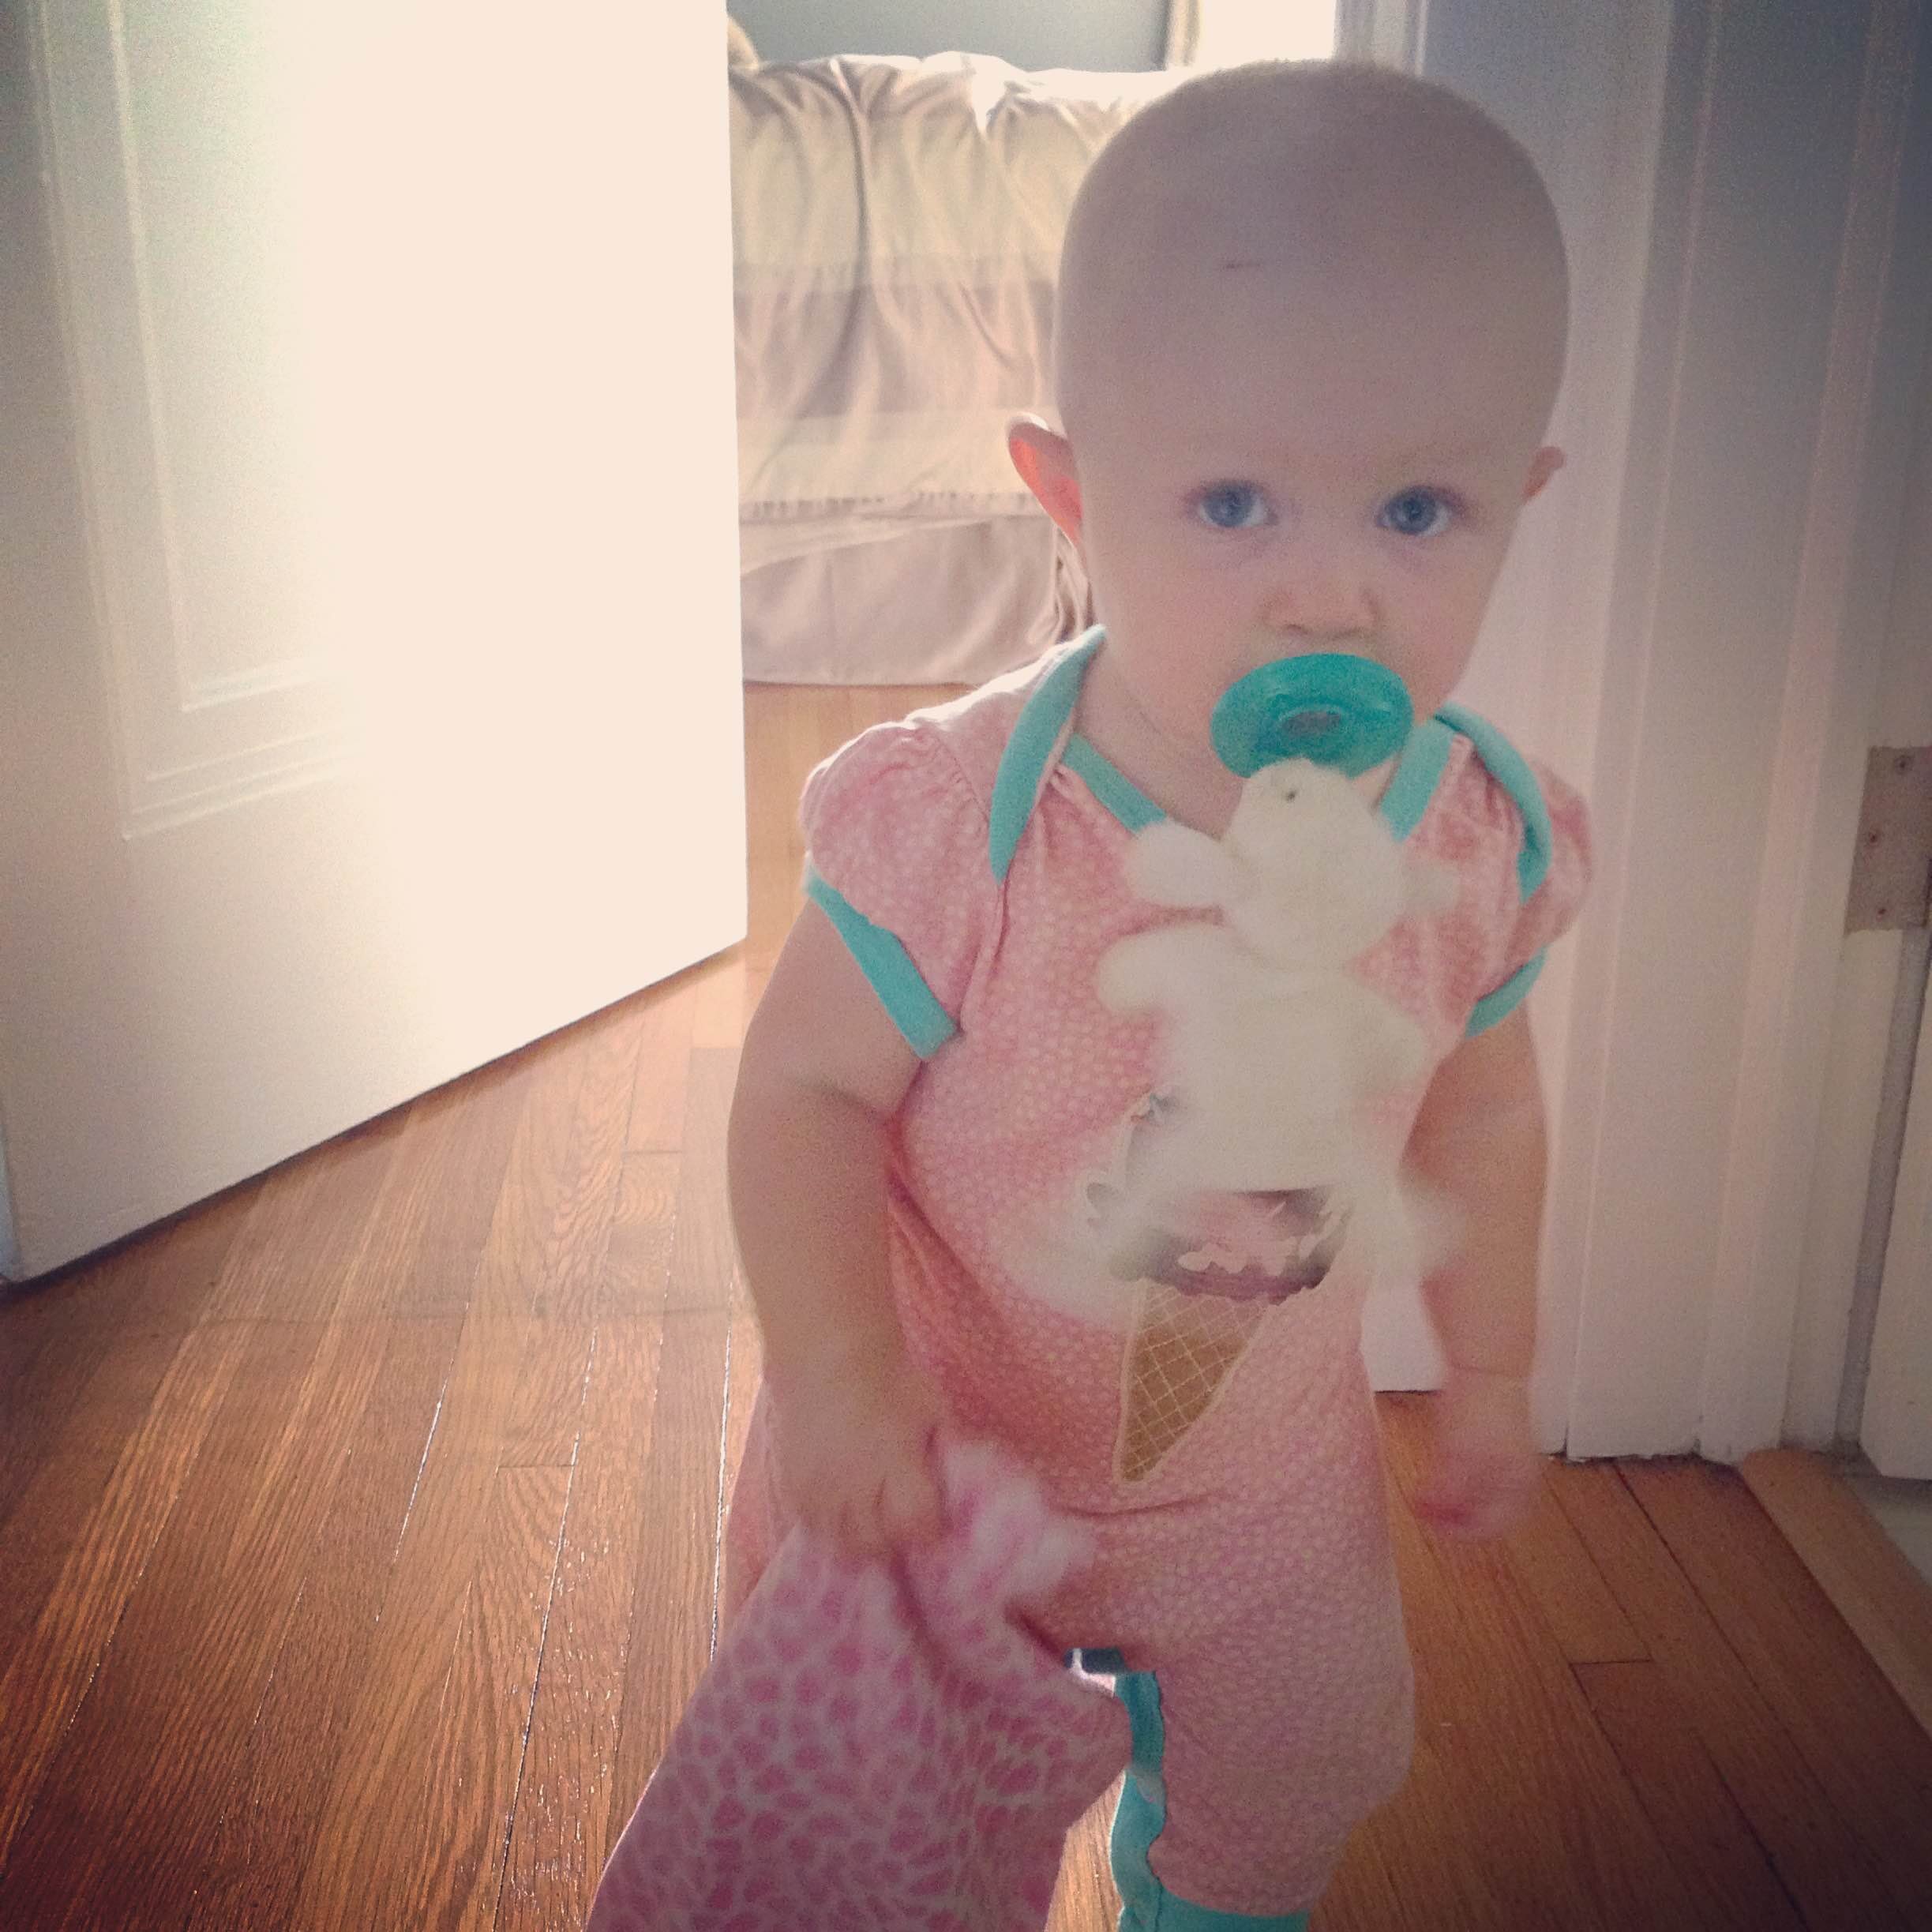
(gratuitous photo of amelia thrown in because this is my blog and i can do what i want)
DIY montessori texture boardwhat you need:
- thick cardboard or posterboard
- various pieces of material with different textures and patterns (leather, fur, felt, patterned cloth, mirrors, etc.)
- stickers
- some type of adhesive (packing tape, staples, glue, etc.)
what you do:
- plan the layout of your board. cut your materials down to size if you need to.
- attach the materials to the board with your adhesive. make sure to test the materials by pulling on them like your baby would...they're stronger than you think.
- add your child's name or some fun stickers to add additional color and visual appeal.
- attach the board to a door, a wall or leave it free to bring from room to room, depending on your needs.
- shake your head at erin for writing out these directions, they're clearly way too easy.
have fun playing!
elsewhere with love: bloglovin’ || facebook || twitter || instagram