style: diy jean shorts for summer.
alternate title: i'm too cheap to buy maternity jean shorts so i made my own.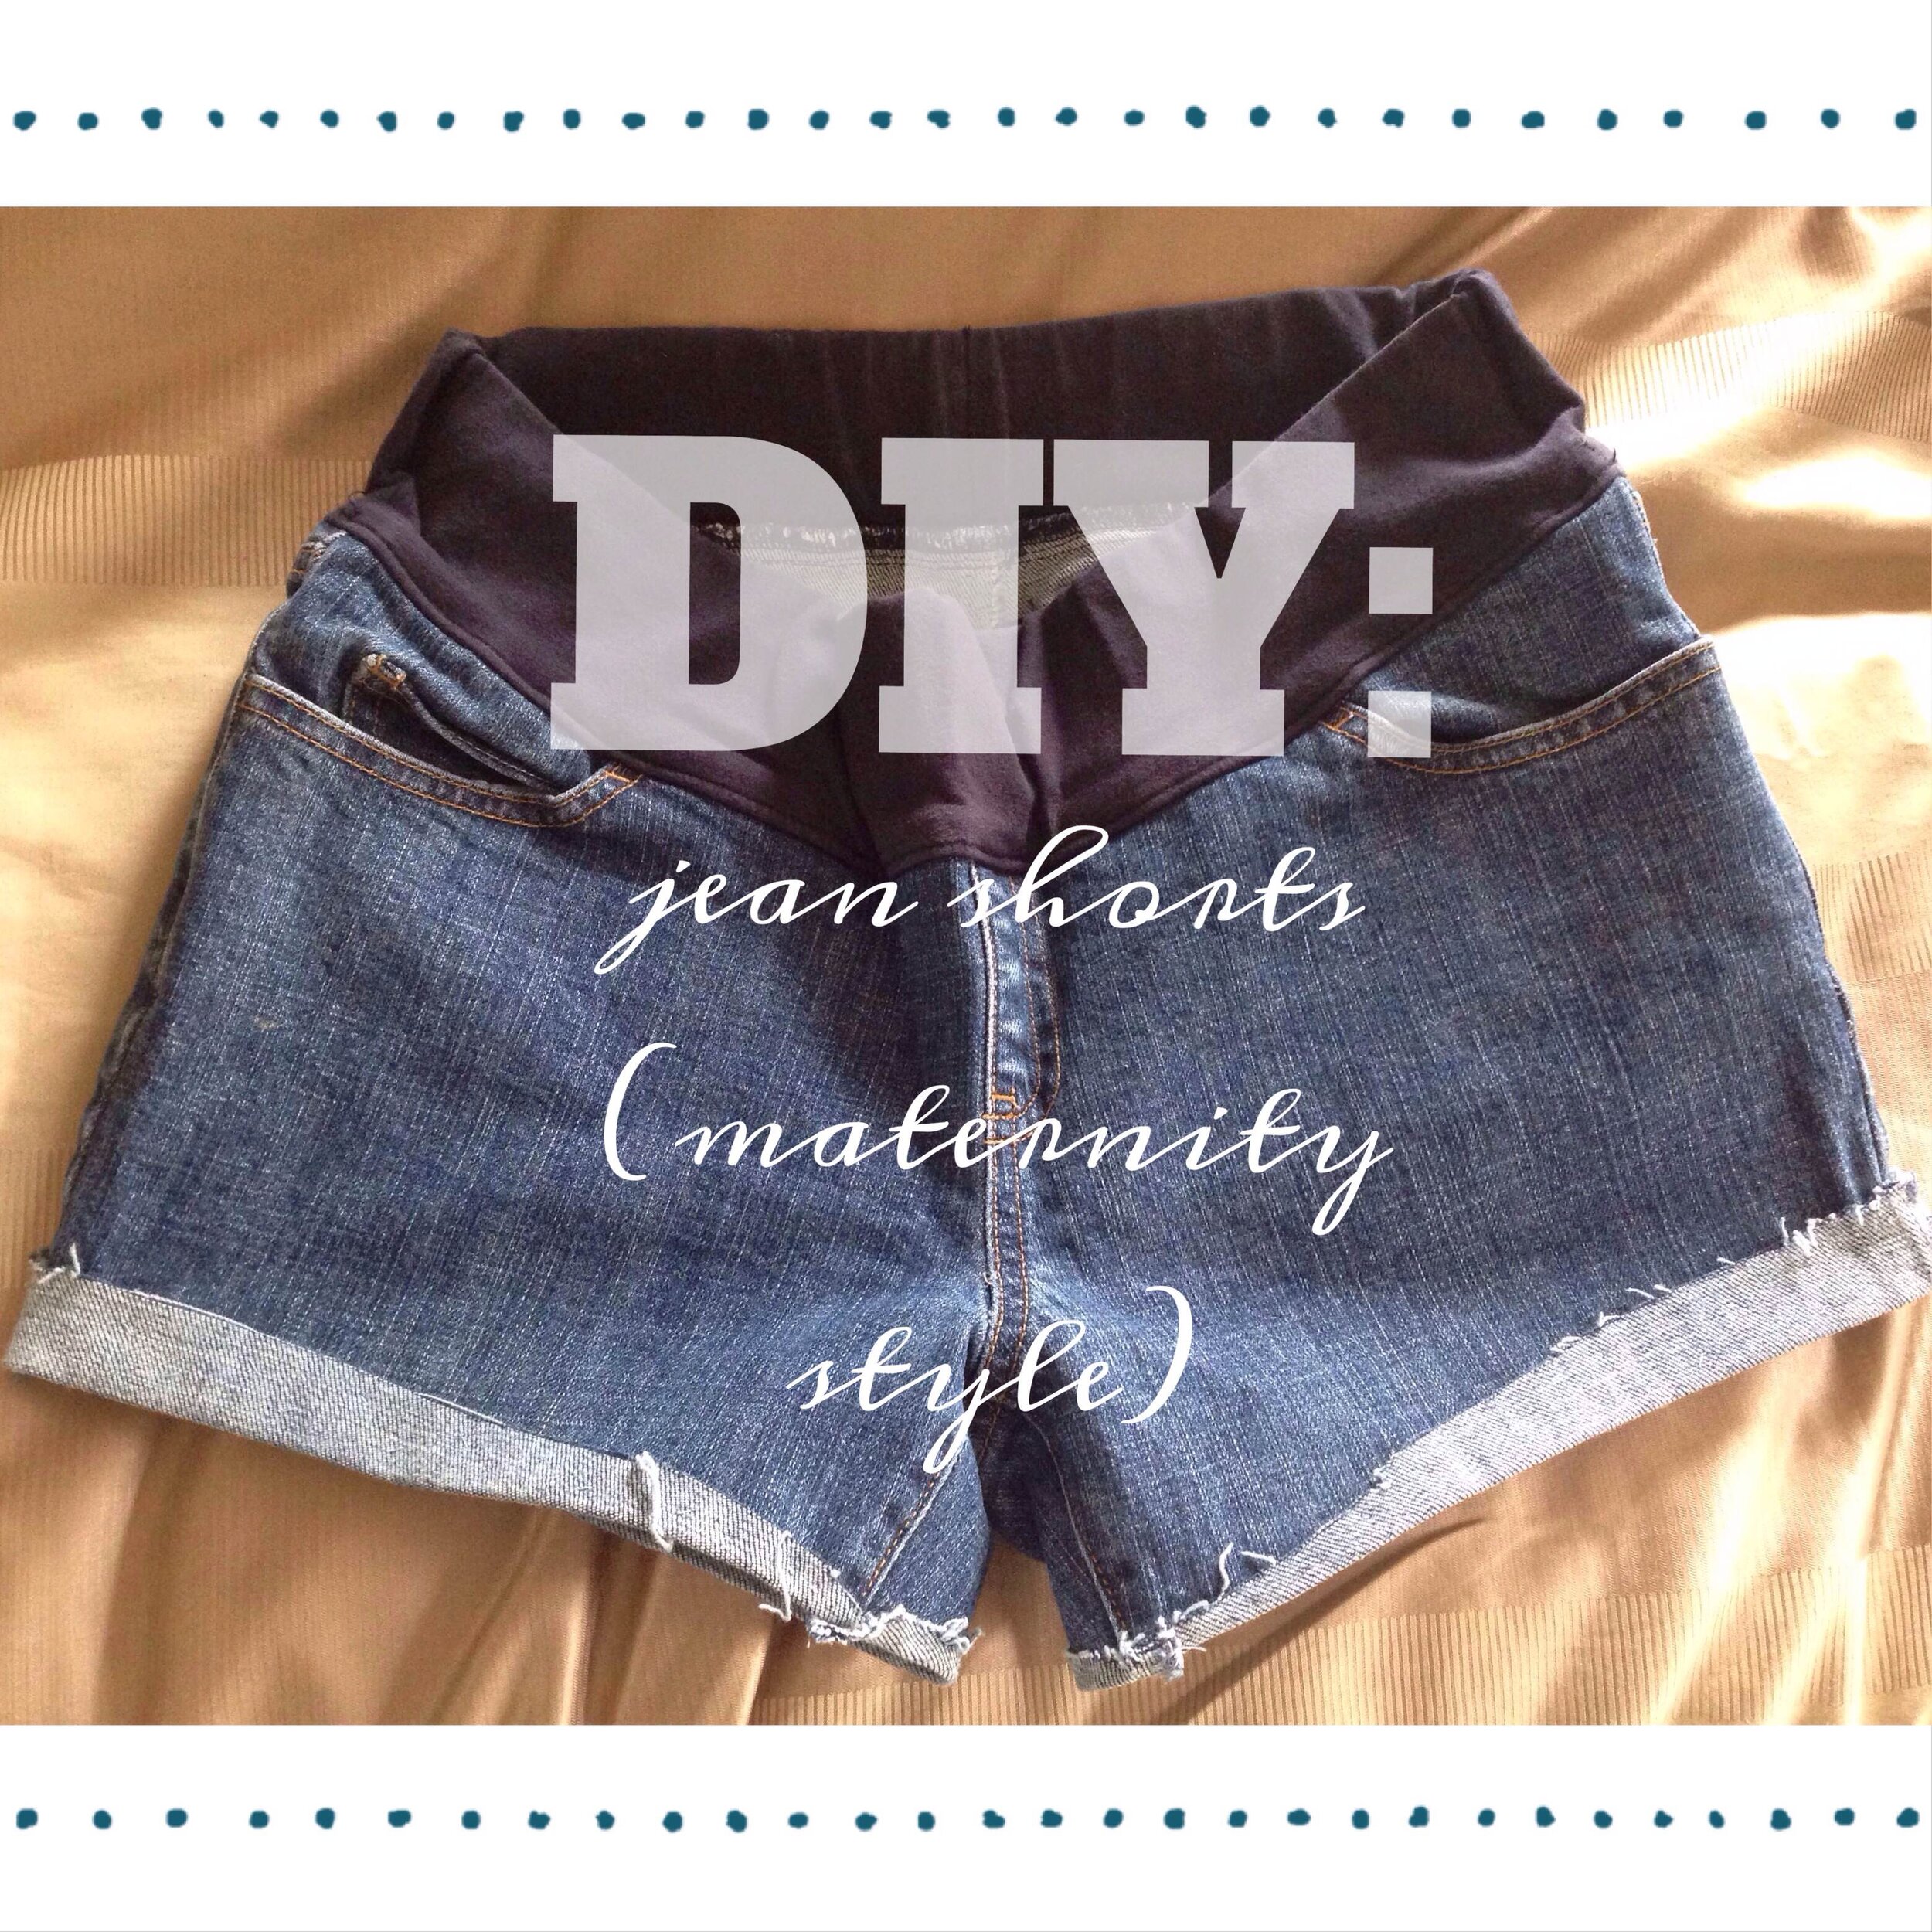 so according to almost everyone i talk to, it's going to be hot as hell this summer. more so for me because i'm super pregnant (surprise! did you guys know that? have i ever talked about that here?). and so i'm going to need to wear shorts at some point in the next three months. problem is, i'm also a cheap-ass, and the idea of buying maternity shorts that cost more than $12 makes me cringey.so when i was given a pair of maternity jeans that were way too short (and frankly, not in a cut that would be flattering for most pregnant people), i decided to get all crafty and make my own cuffed jean shorts. and then i decided to share the process with you! so far, i haven't distressed them any further than you see in these photos, but that option is always open to me, so we'll see what i decide.and away we go!
***
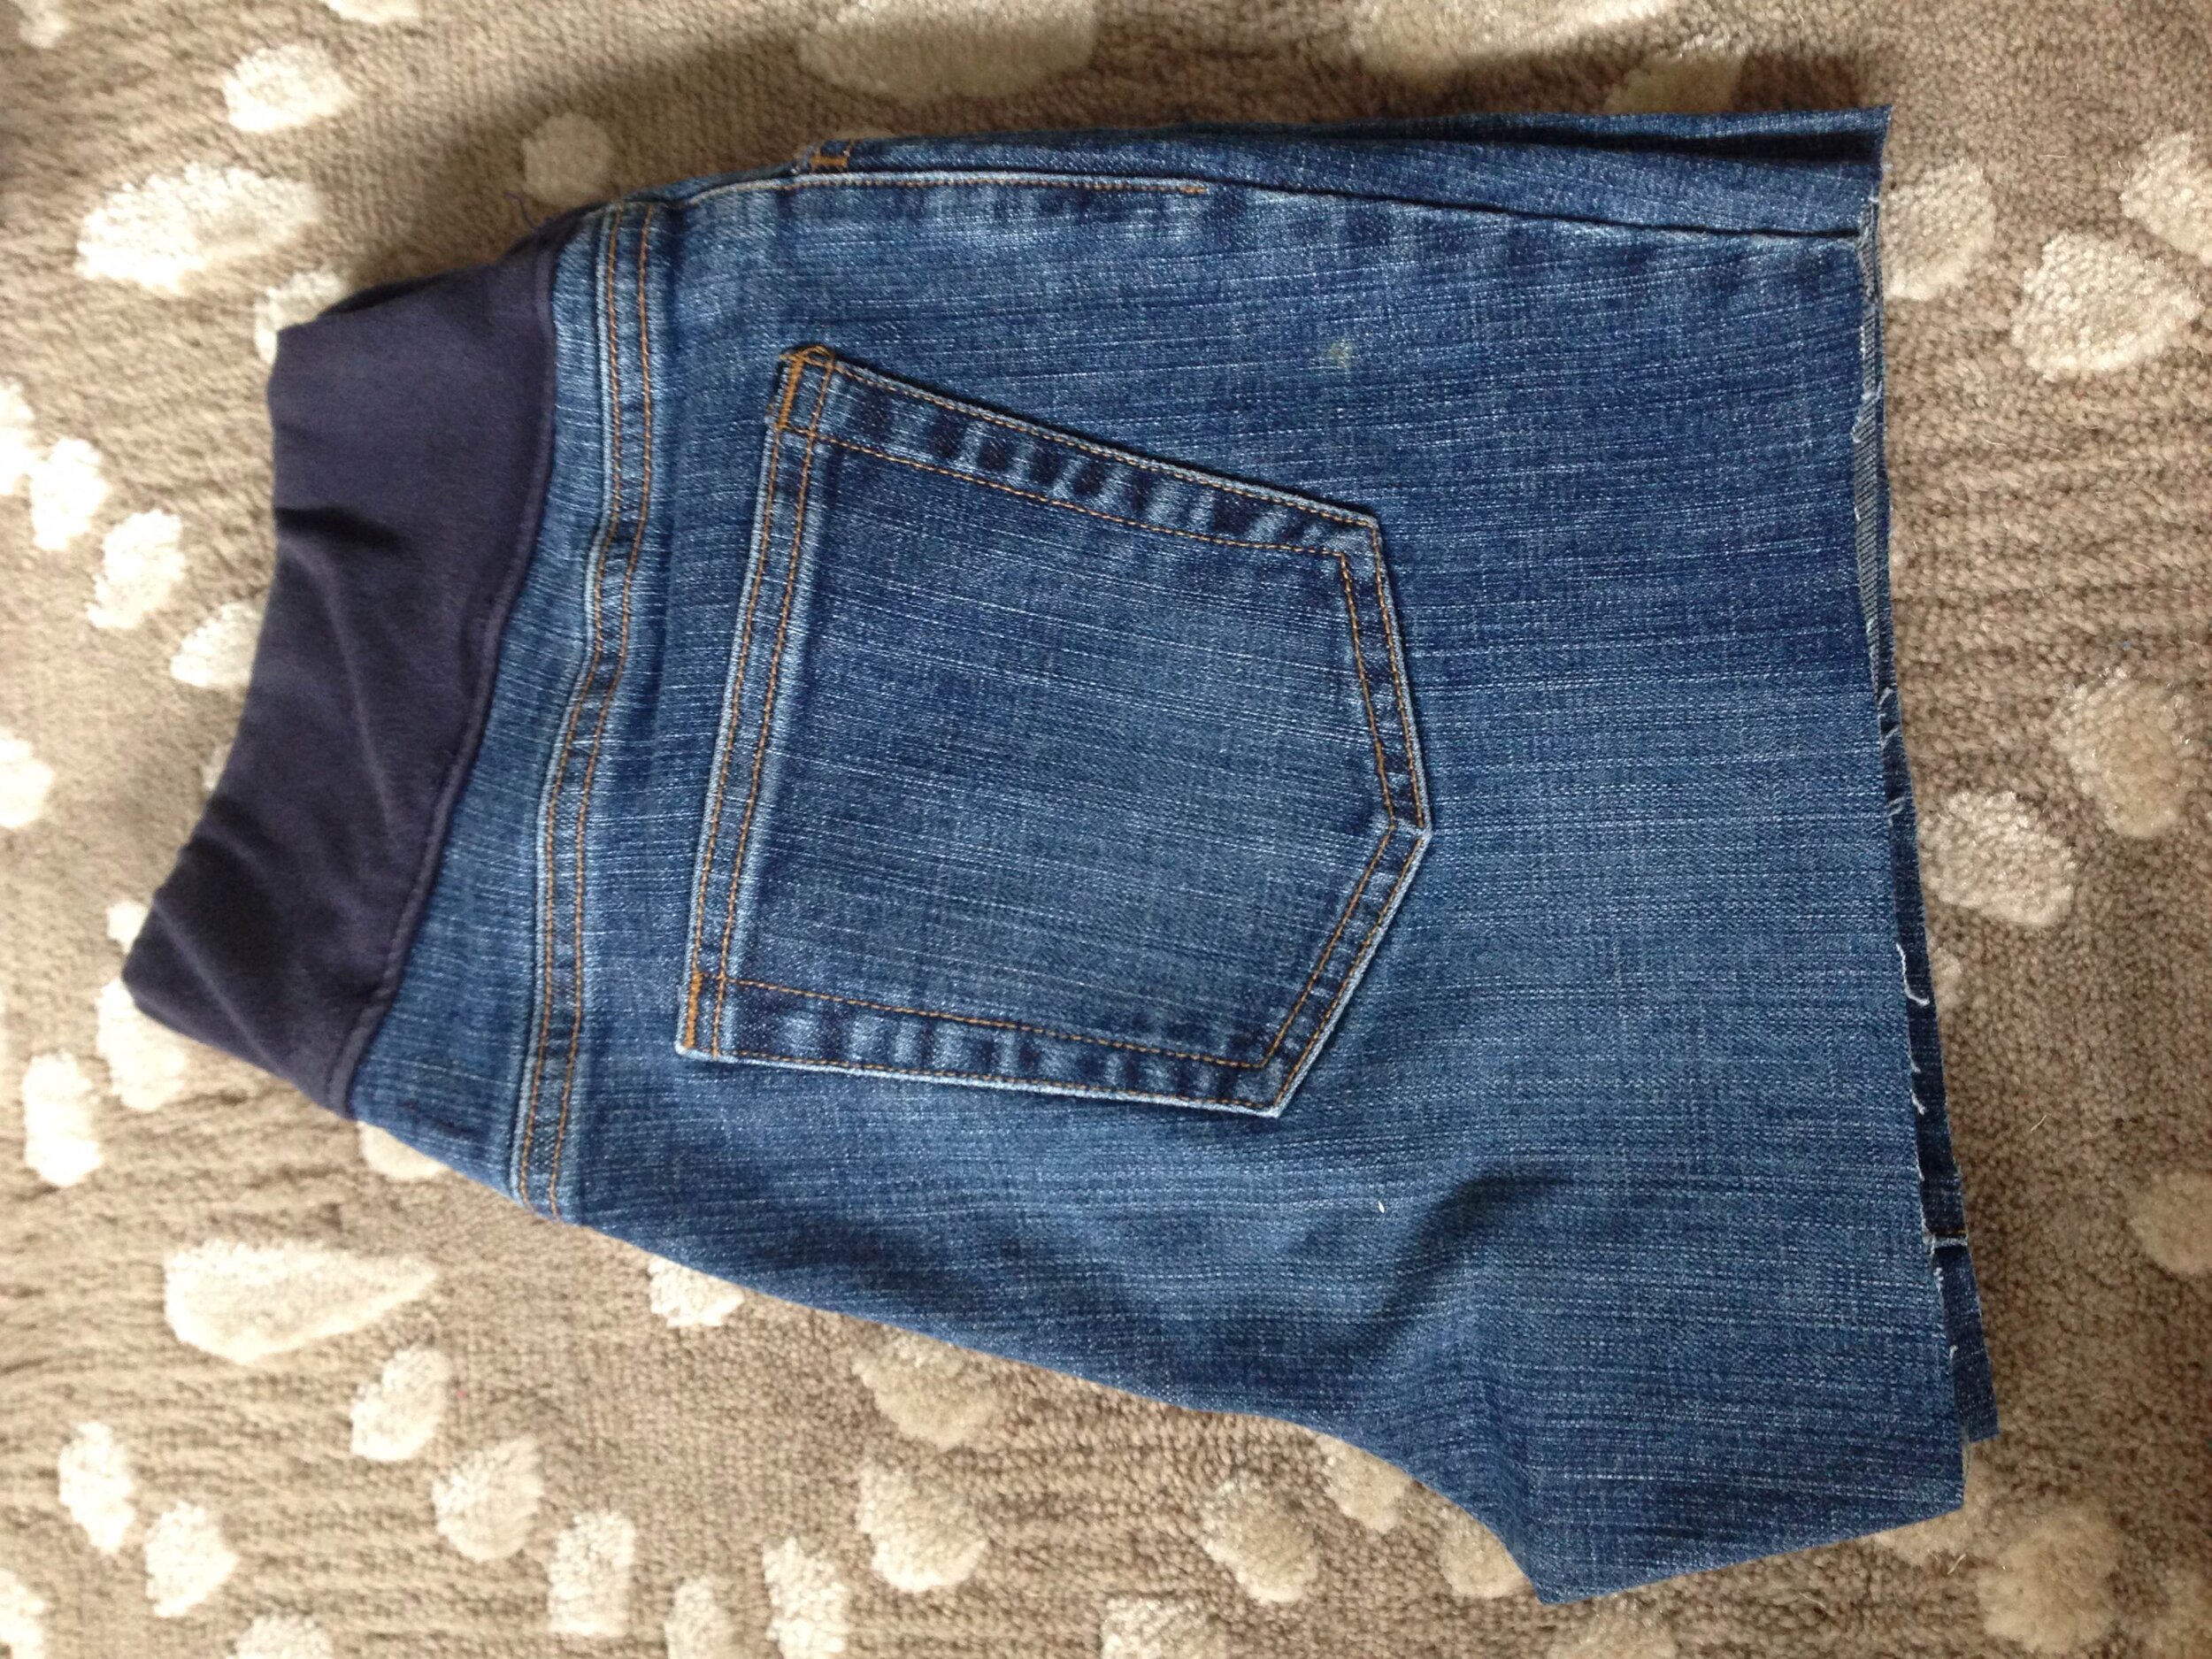
step one: pick your jeans. i suggest using a very old pair, or a very cheap pair. don't take a scissors to jeans you're going to regret messing up. as i mentioned above, mine were given to me for free.step two: put on your jeans and decide where you want them to hit on your legs as shorts. mark this spot with chalk or a fabric pencil.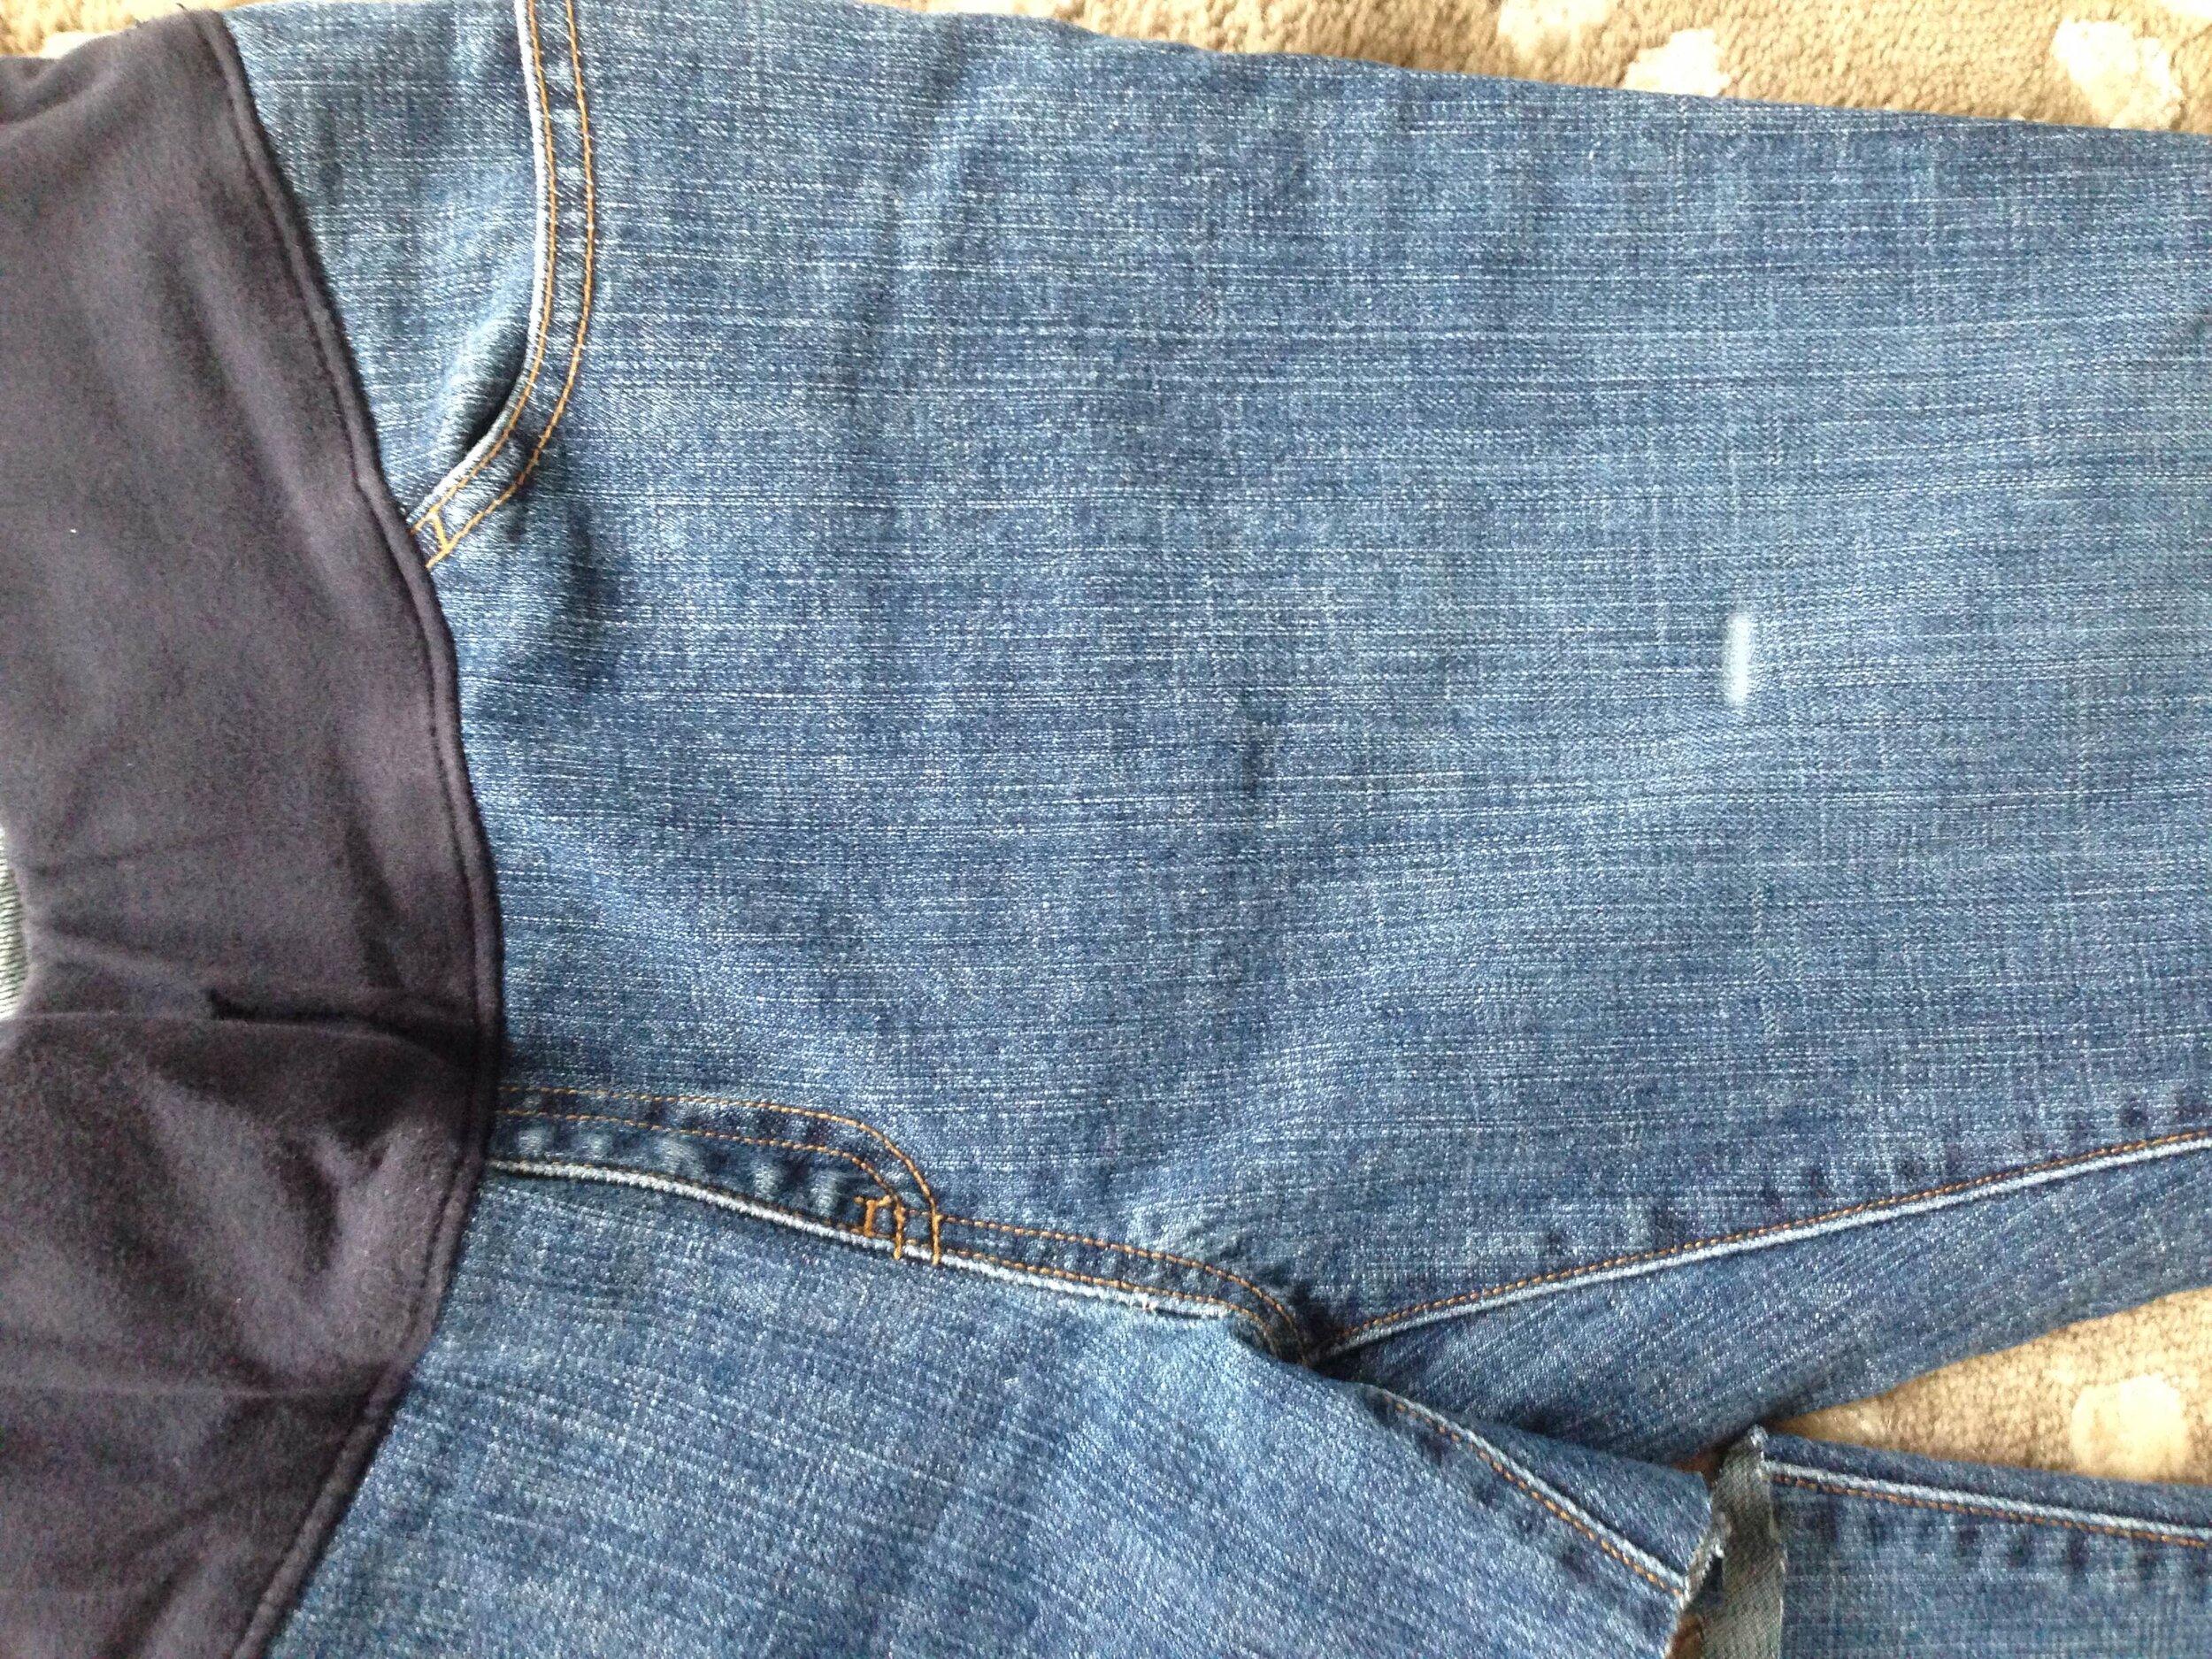 step three: take off your jeans and lay them flat on your work surface. if you're doing cuffed shorts, measure about two inches below where you marked your original endpoint, to give yourself some wiggle room when you cut.step four: start to cut! i like my jean shorts to be slightly longer on the inner inseam than the outer inseam, so it's essentially cut a bit at a downward angle. it helps to cut the top layer of the jeans first, so that you can see the line you're cutting, and then cut the back layer after so you can match it up perfectly.
 step five: once you're done cutting the first leg, make sure the angle of the leg looks like you want, make sure the top and back layers match up, and you're happy with the outcome. fold over the cut leg onto the intact leg, and either draw your cut line on the leg, or just go to town with your scissors, whatever makes you comfortable.step six: compare both cut legs to make sure they match. putting the jeans on at this point can really help ensure that the cuts are the same height on your body. make any adjustments you need to make.
 step seven: once you're comfortable with length and cut, make your cuff. you can see from my shorts that i made my cuff longer on the outer leg, and much shorter on the inner leg. personal preference, you can cuff or not cuff however you'd like. if you decide not to cuff, you're done! if you do, just a couple steps left!step eight: once the cuff makes you happy, iron it down to hold it in place. this will allow the cuff to stay in place, even when you wash it. now you can either be done, or you can do the optional step nine of sewing the cuff in place.
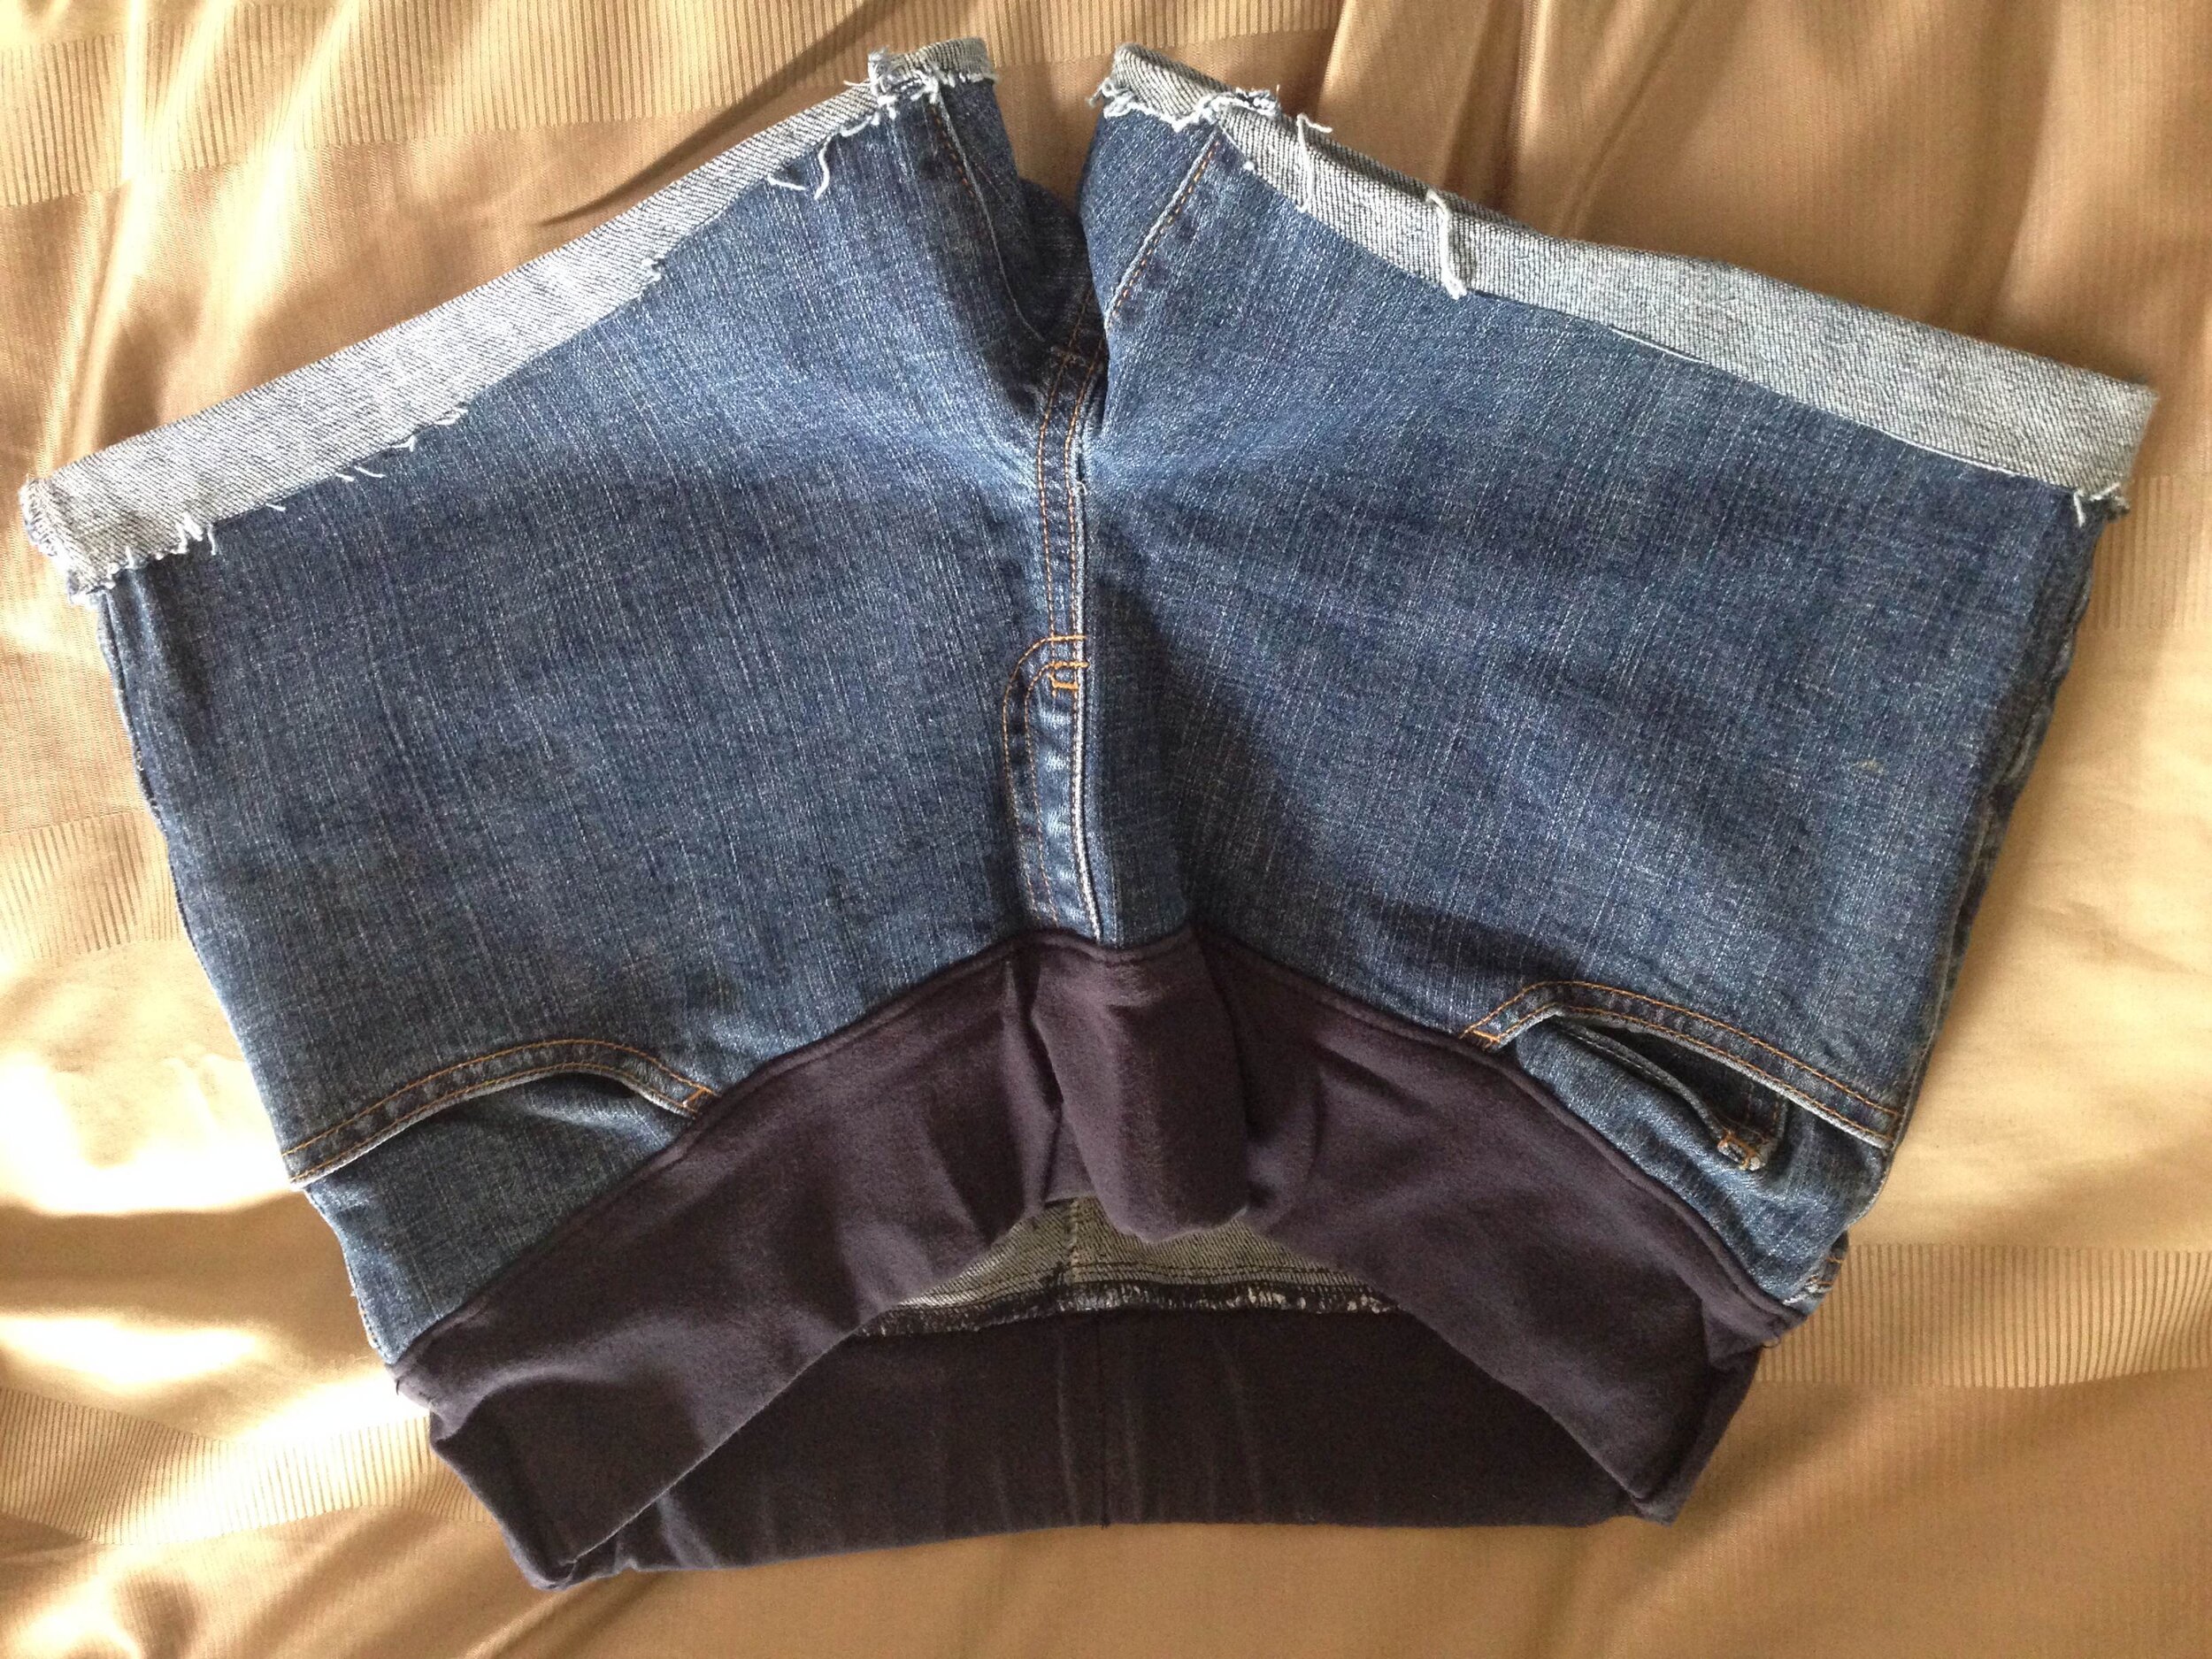 step nine (optional): using thread that matches the color of the inside of your jeans, sew a zig-zag pattern around the cuff of your shorts. for the stitch on the visible part, make it short, about a millimeter or so long. for the stitch on the inner part, make the stitch about 1/2-1 inch long (this will help the sewing go a lot faster). i'm TERRIBLE at sewing, more specifically starting and ending the stitches, and even this was incredibly easy for me to do, so have faith.
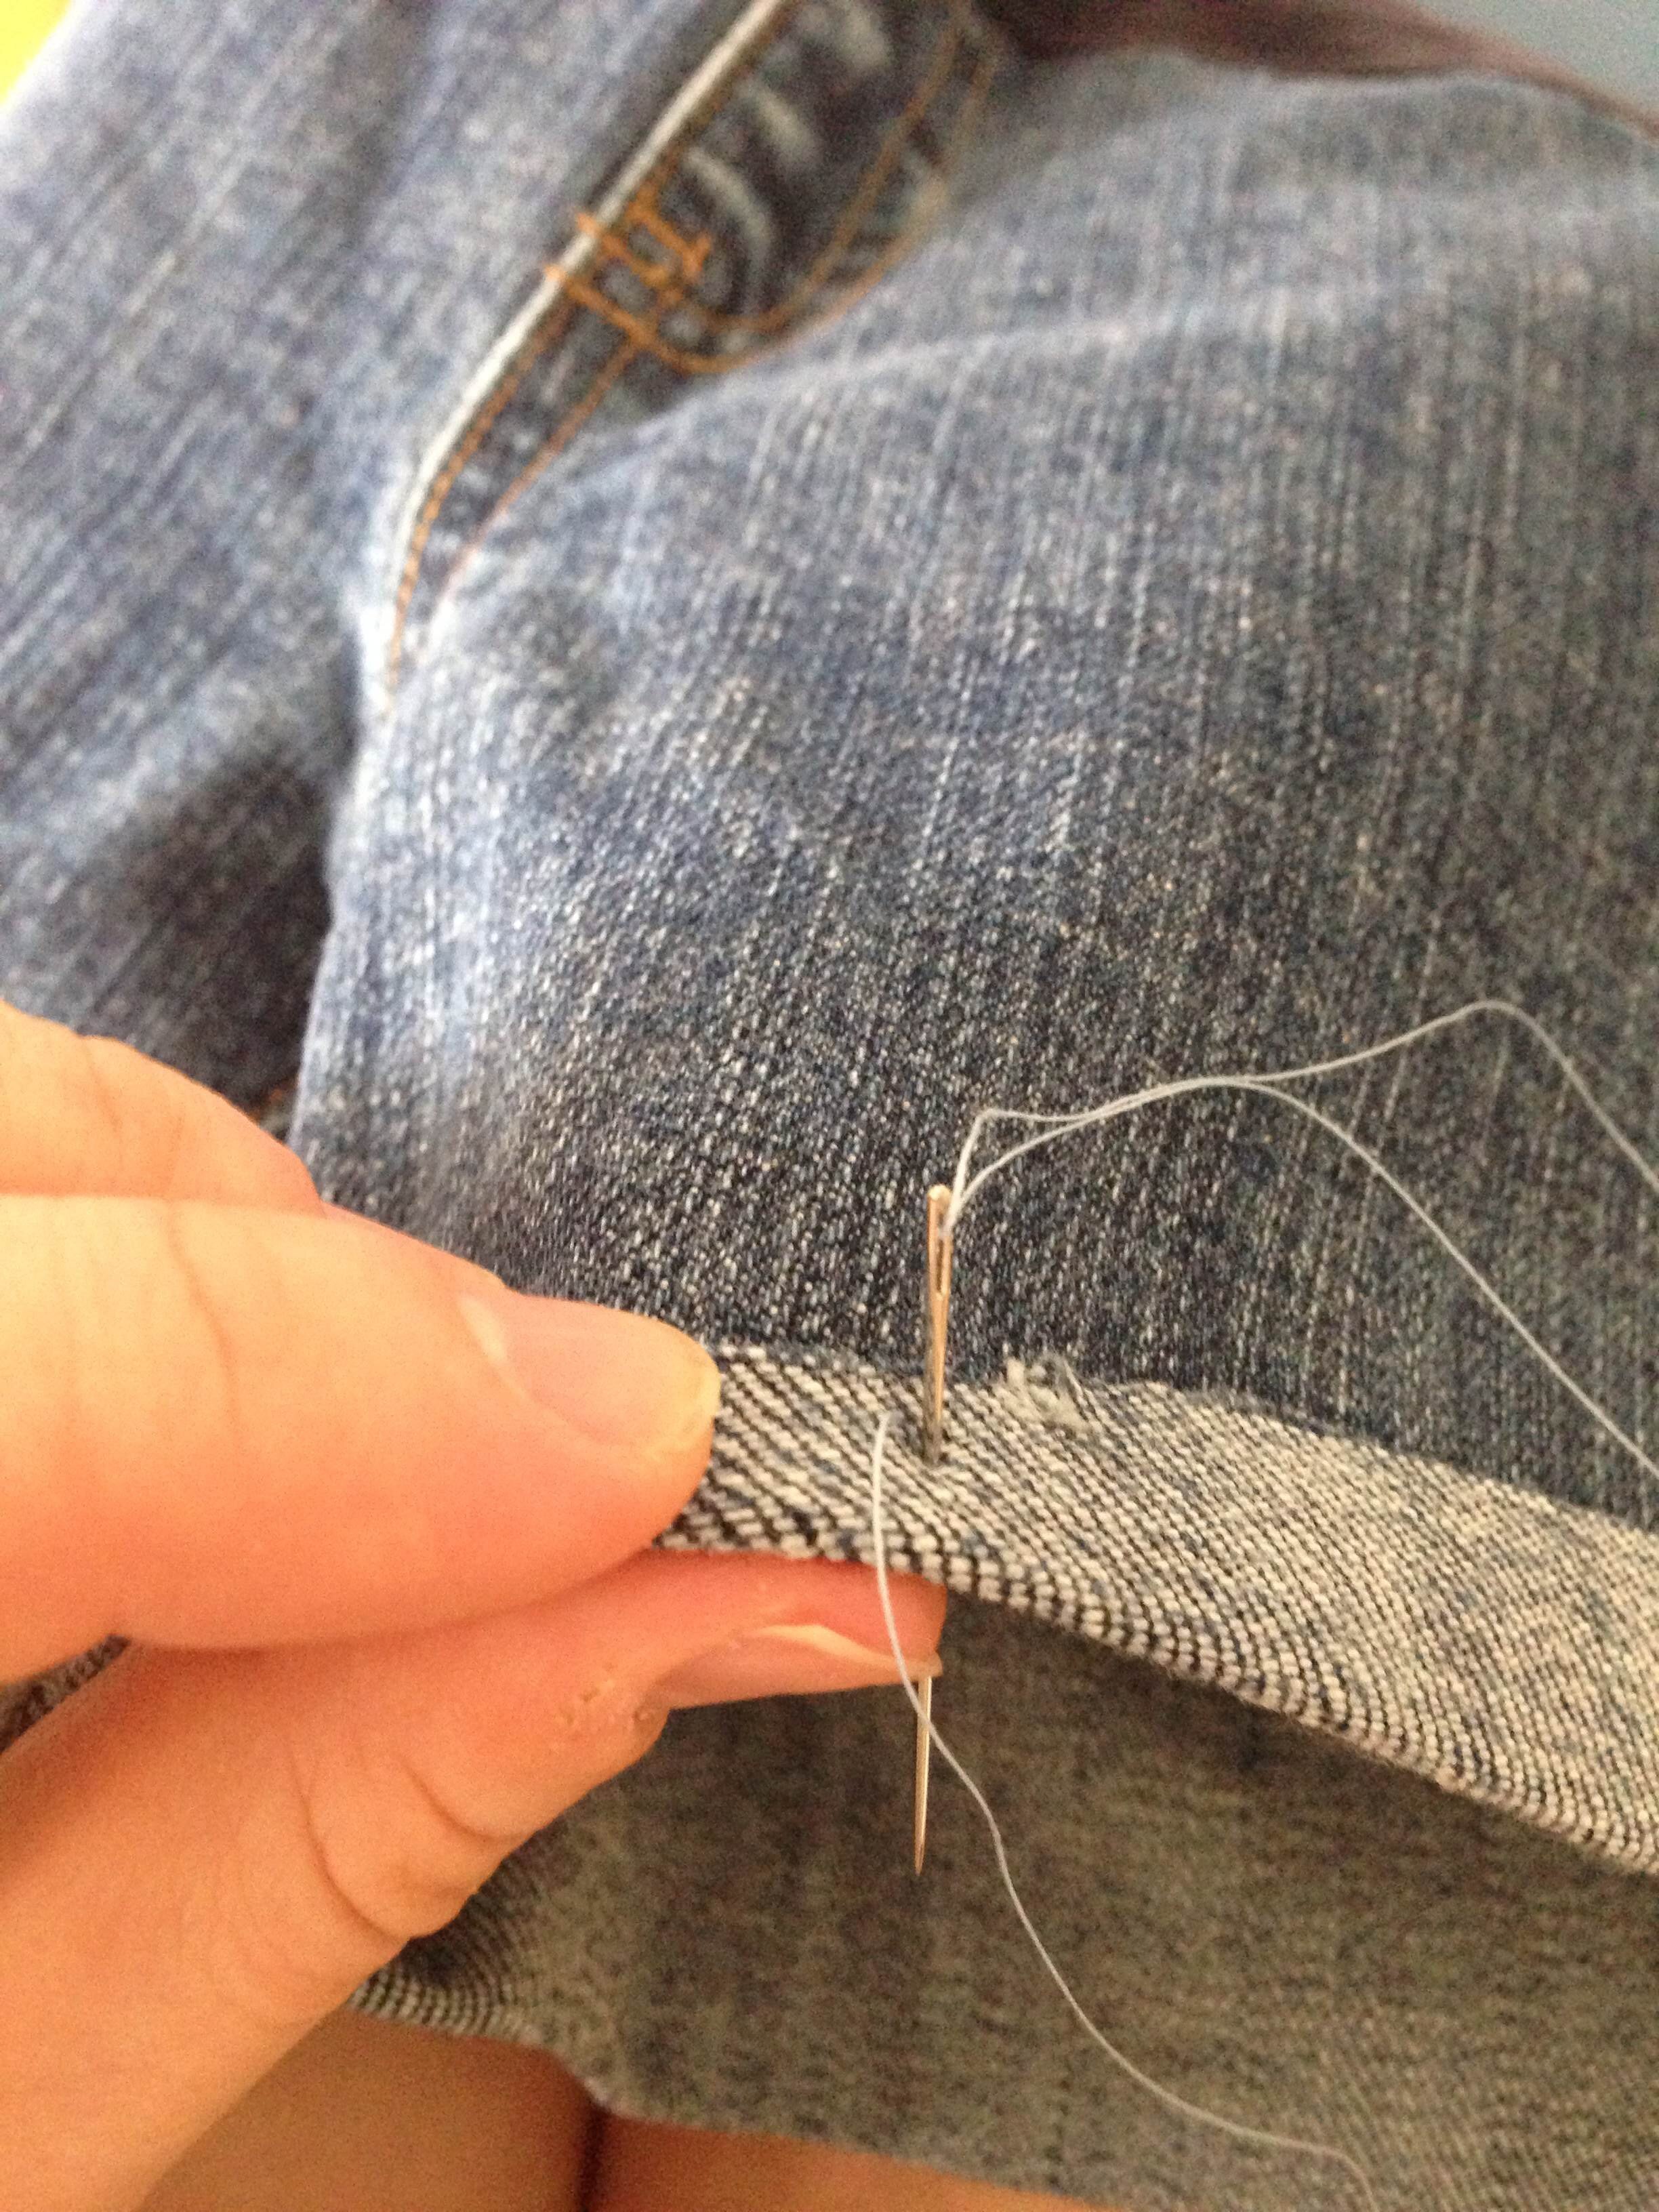
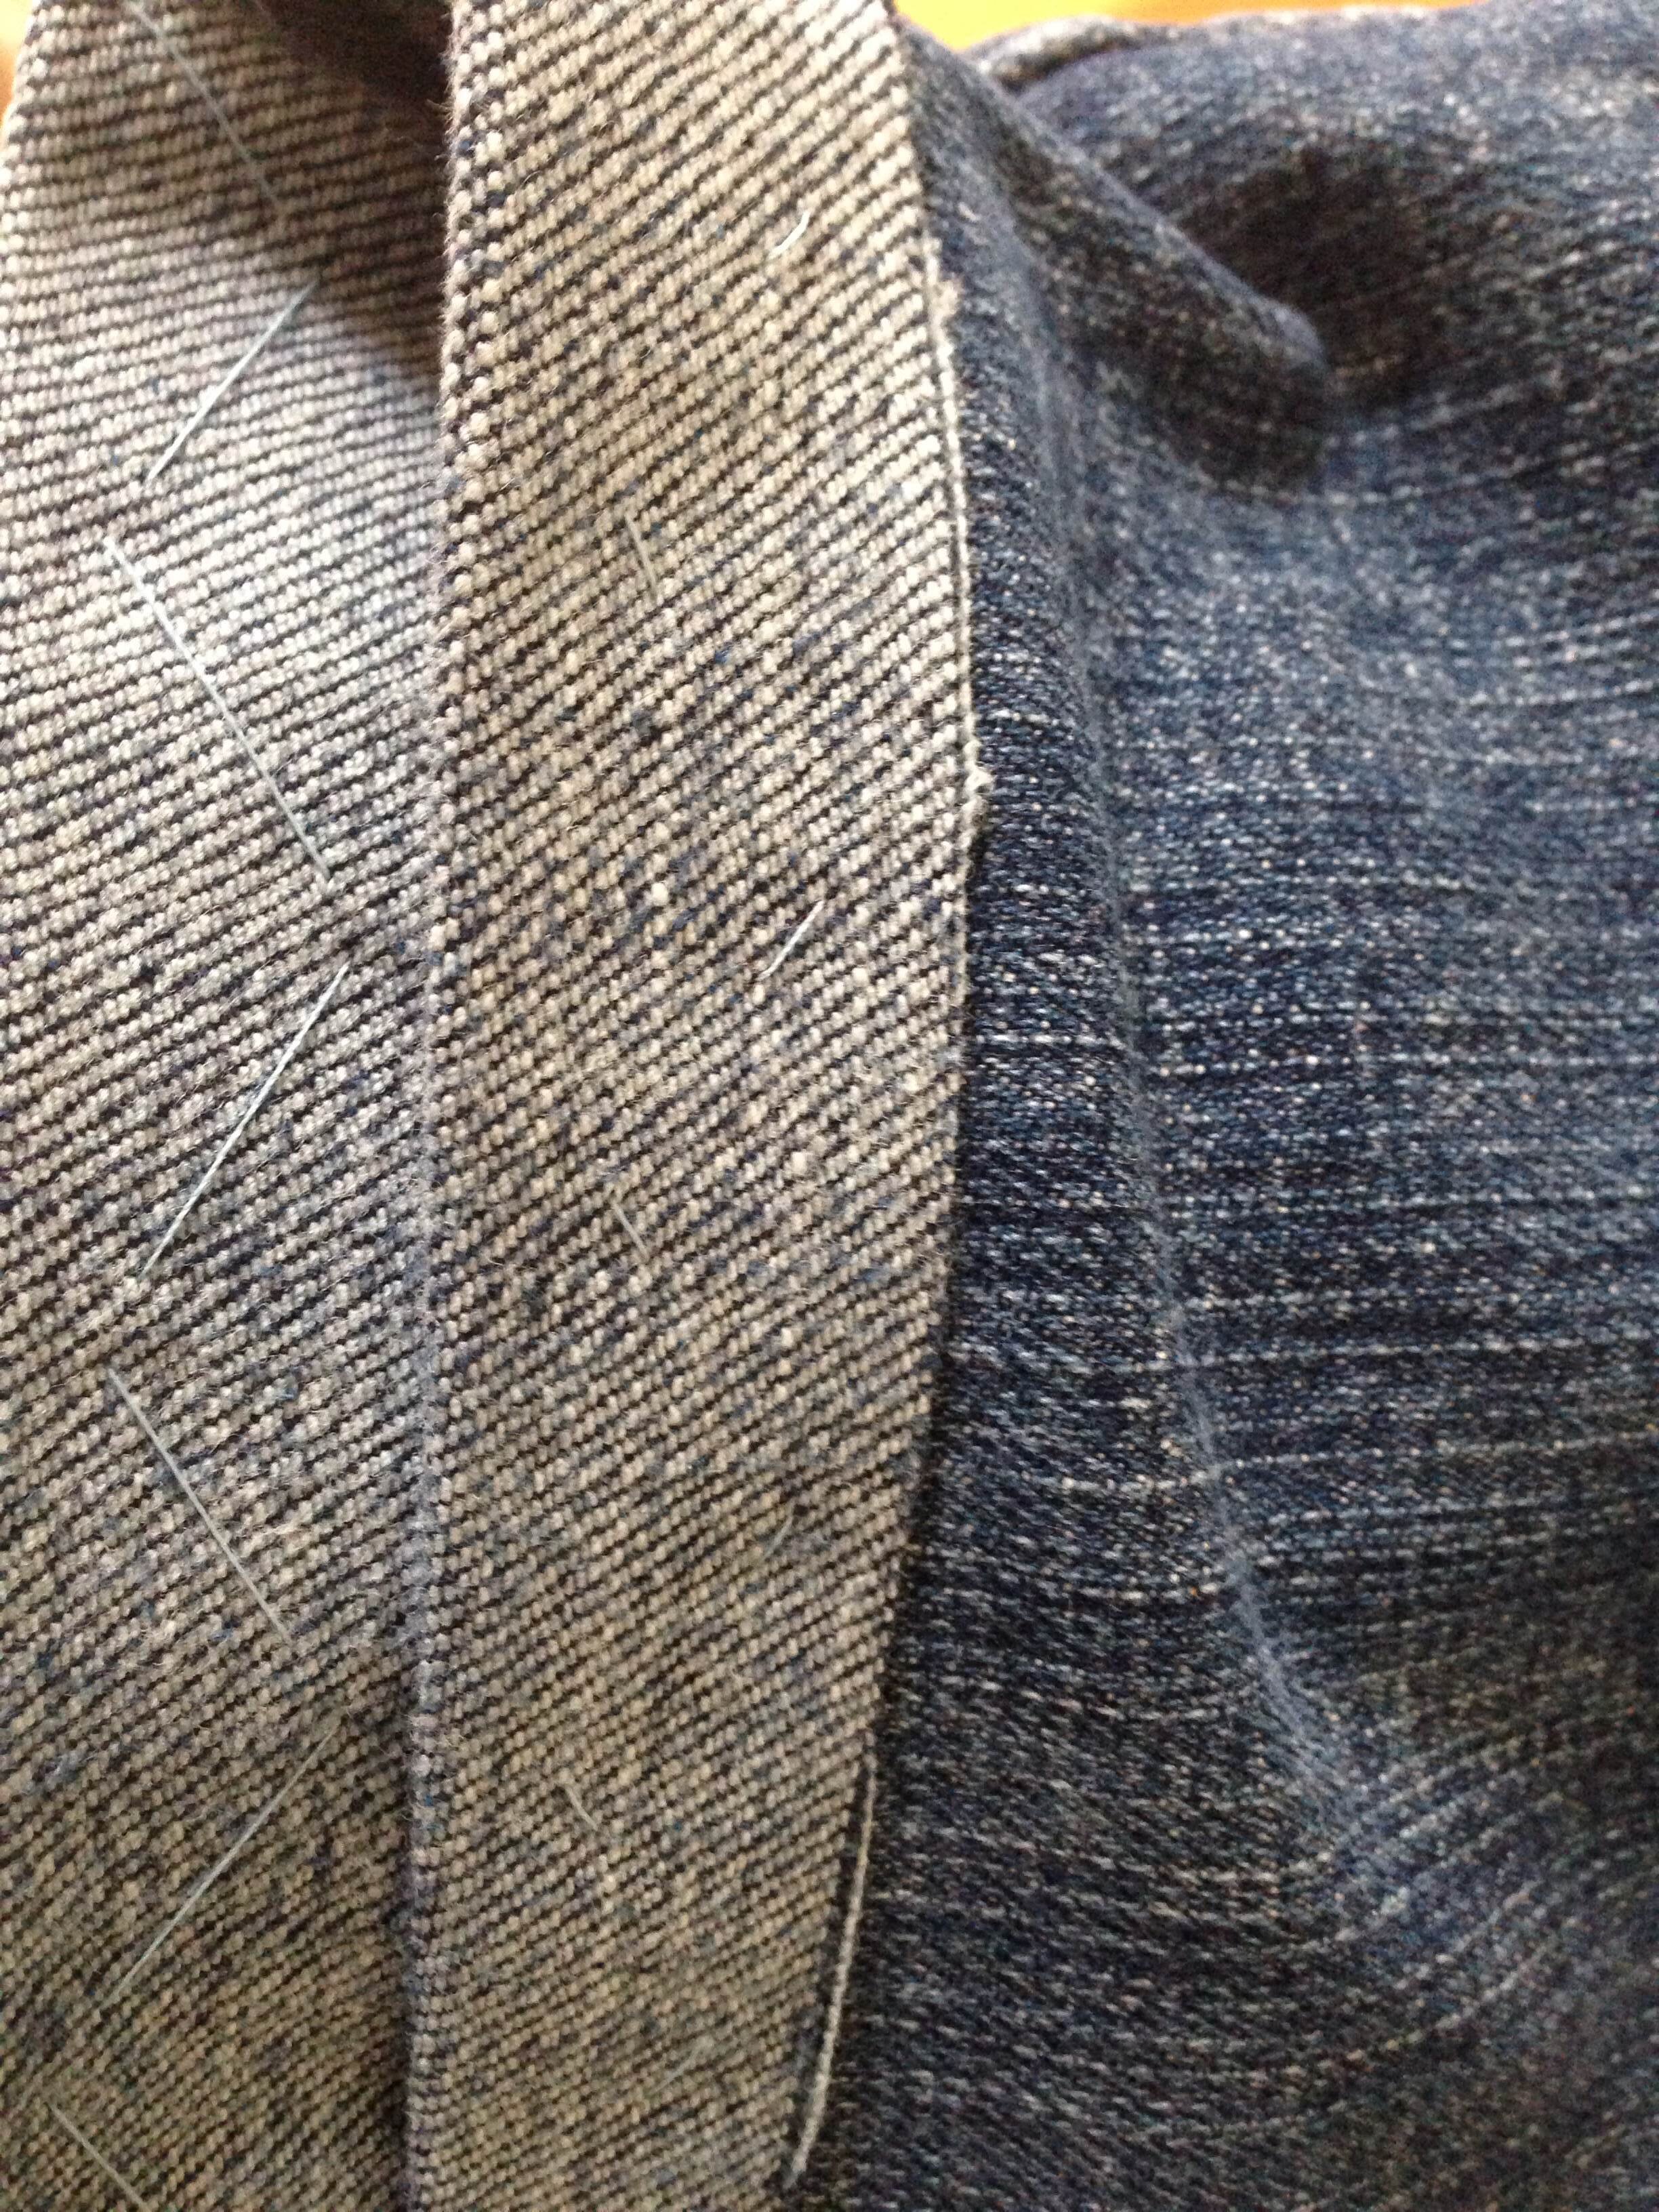 a couple notes: now don't get me wrong, i love me a good pair of "jorts", frayed hem and all, but the cuff just makes it a little less redneck and a little more polished for me. so that's the direction i went. it's maybe a tiny bit more work, but we're talking five extra minutes, nothing more. and really, the last step of sewing the cuff down is entirely optional.these steps can obviously be used on any jeans, not just maternity jeans, but that's what i was working with at the time.if any of you decide to DIY your own cuffed shorts, let me know in the comments below! or if you've done it before, and have any tips on how to make it easier, or how to distress them even more, share those too![i got my inspiration to make these from here, but adjusted the shape of the cuff to something a bit more my style (less straight across). considering it's been in the 80s here the last few days, praise the Lord, i have a feeling these are going to get a lot of use over the next 10 weeks.]
elsewhere with love: bloglovin’ || facebook || twitter || instagram